Running Retropie on a Raspberry Pi is so easy, even my brother can manage it and in a sense that’s a problem. Since it’s so easy to get Retropie up and running, it’s easy to never make it past the default settings. Heck, you don’t even need to put your Pi in a case, just hook it up to a PSU and connect the HDMI to a monitor or a TV set and you’re one controller and some ROMs away from being sorted.
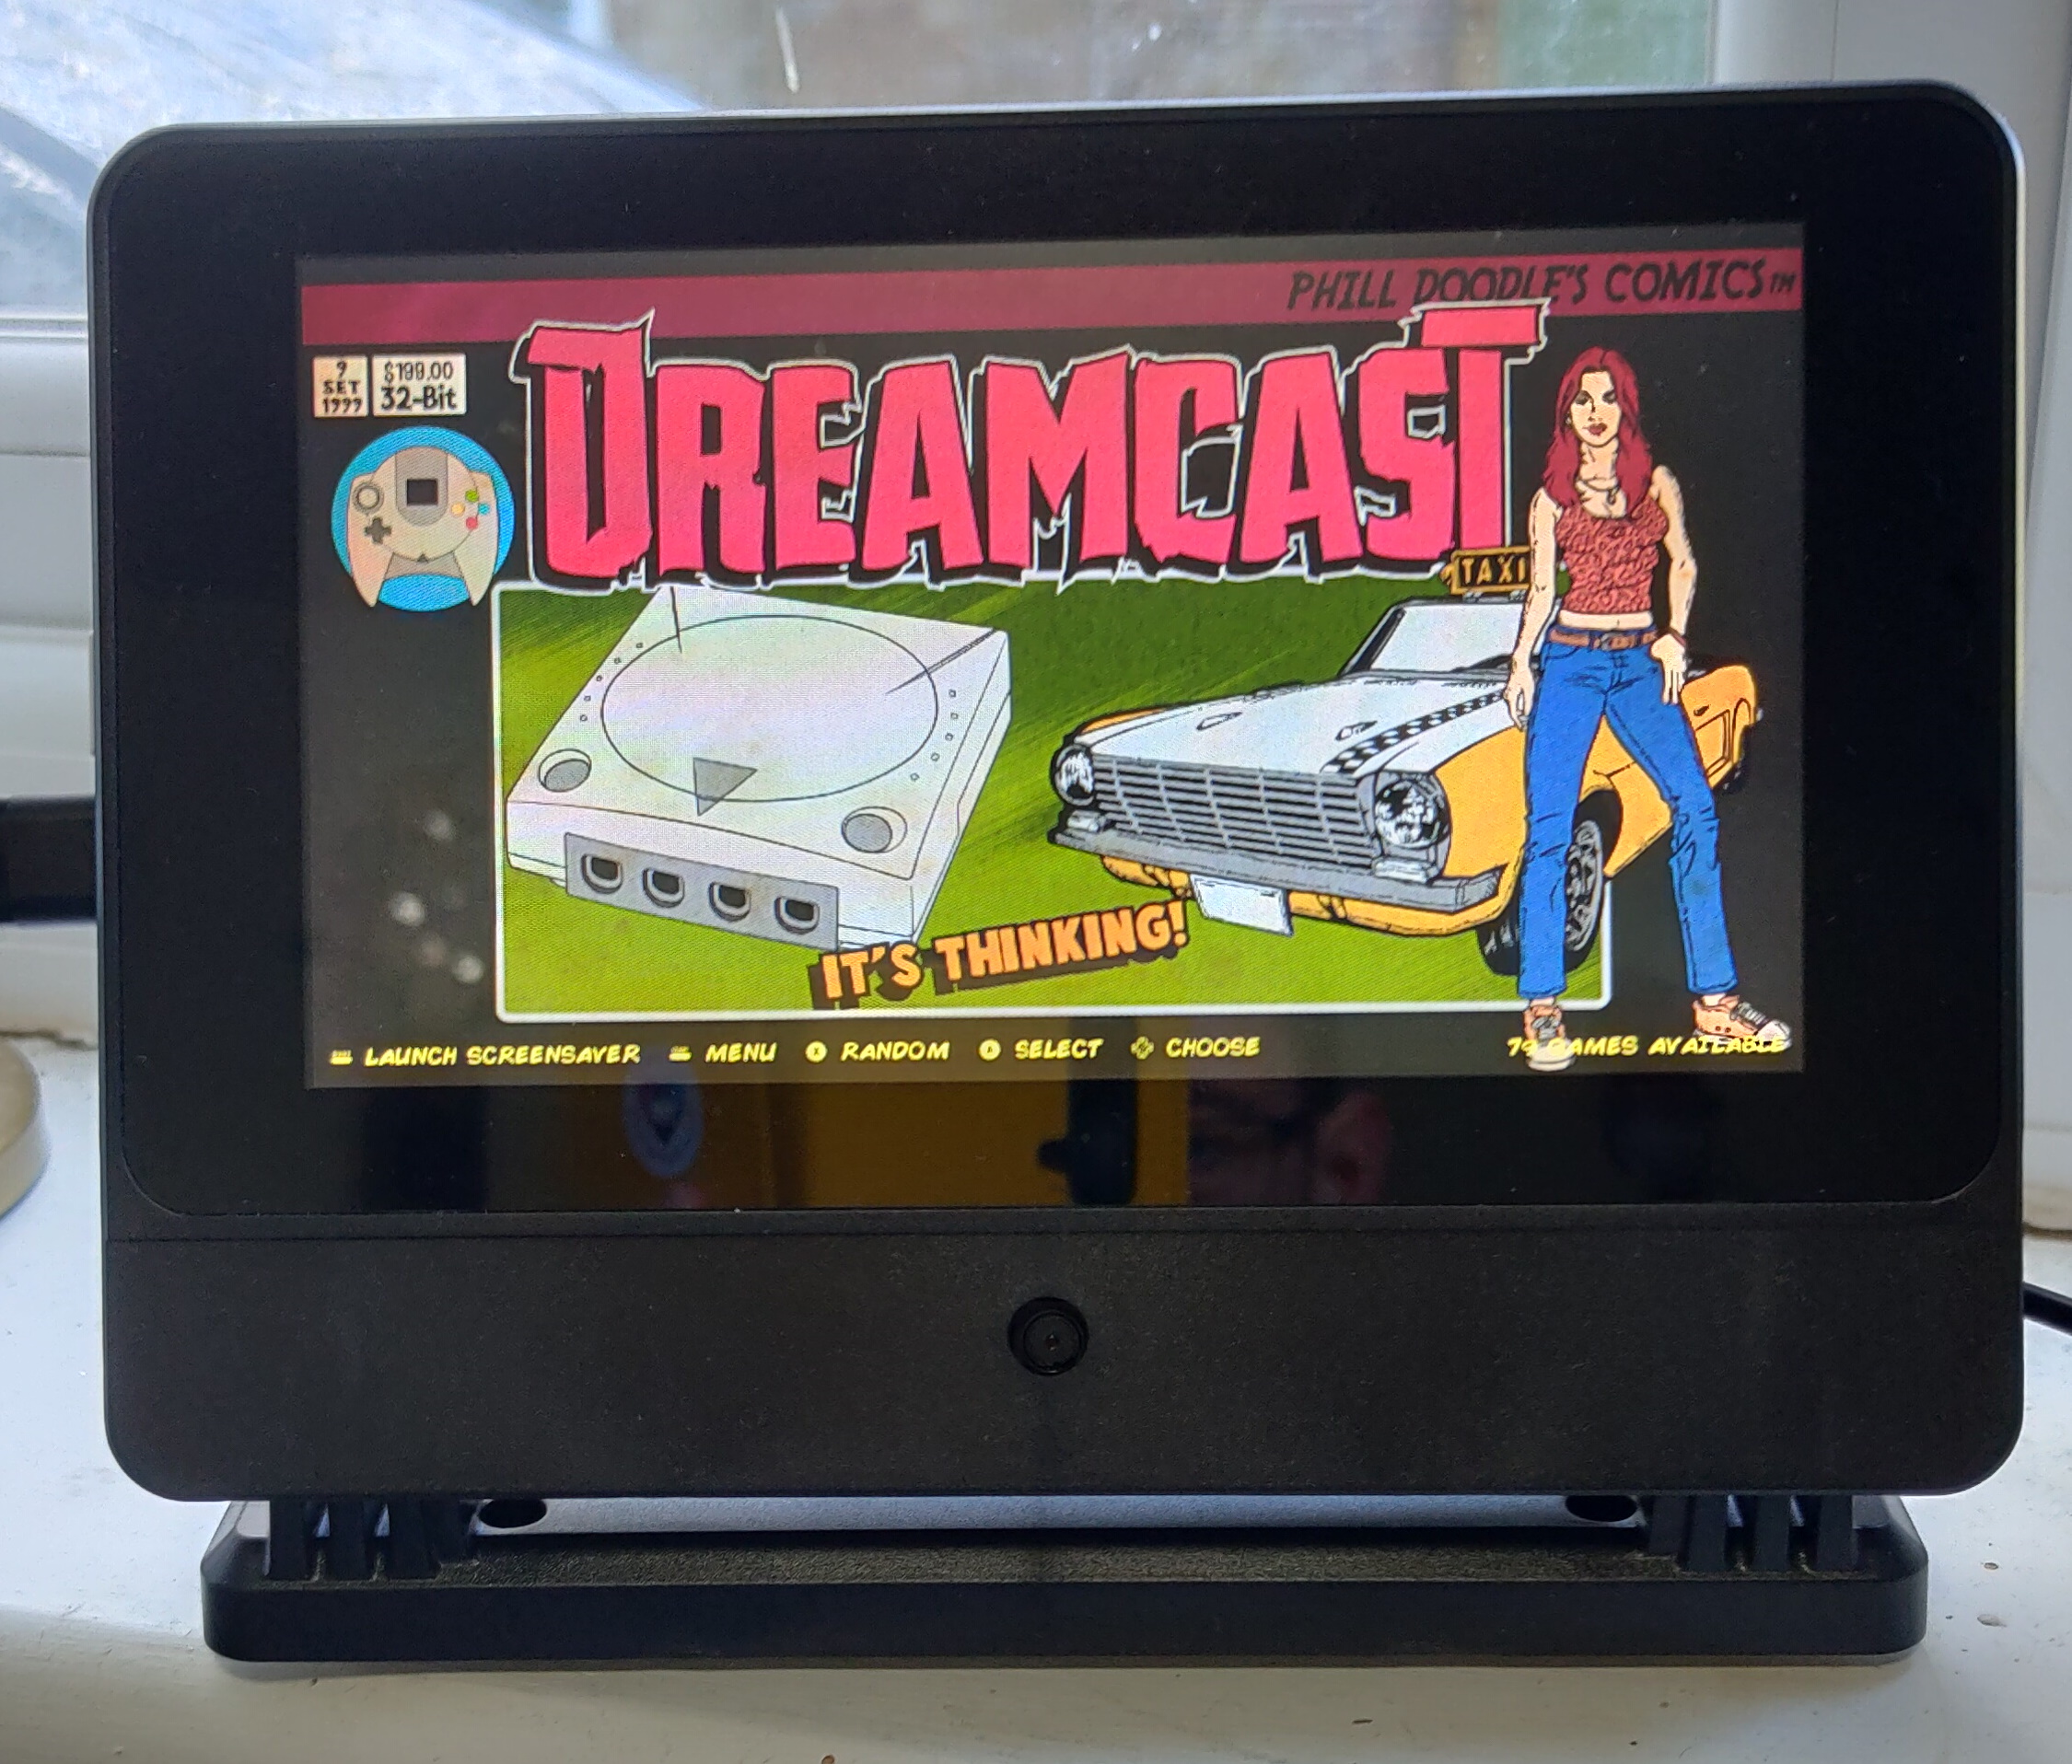
My Retropie set up started life on a Pi 3b+, with a 64GB mSD card that contained the OS and the ROMs, and have now evolved into an overclocked Pi4 in a SmartPi case, with a built in 7 inch touchscreen, some custom themes and bezels sets, and a CRT shader. Oh, and the ROMs sit on a 256GB Sandisk Ultra USB microstick. I’ve got a Logitech Wireless keyboard and an 8bitdo SF30 Pro connected too. Sound comes via an Anker Soundcore Mini. There are reasons behind every choice, and below I’ll run through the hows and whys.
There is absolutely nothing to stop you simply hooking up a Retropie install to your TV or monitor. I choose not to for a number of reasons. A lot of the games I play started off their life in extremely low resolution- some of the arcade games would have lusted after 320×240 (PAL standard definition), and that doesn’t look great on a 60 inch 4K telly, never mind the aspect ratio. The TV also has about a billion devices plugged into it already and is very popular with the rest of the family, if you want something to have a quick blast on, a self contained set up without any of the compromises of a handheld is an ideal middle ground.
Case: SmartPi Touch Pro Case
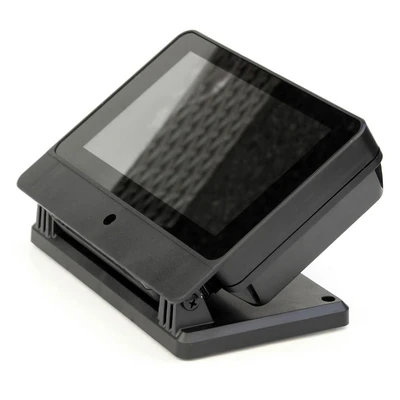
The Smartpi Touch Pro is a bit of a beast; it’s significantly more bulky than the official touchscreen case but has one important extra that the official case doesn’t- the screen is tiltable. I found the official case to be aesthetically great but almost impossible to get a decent viewing angle from. There are a couple of caveats with this case though, firstly you’ll need to order the 3.5mm extension cable as it doesn’t come with the case (and since the sound isn’t going to a HDMI source with speakers, you’ll need it) and secondly, you’ll need a 6.5mm drill bit (and a drill) to seat the 3.5mm jack on the case as there isn’t a pre drilled hole for it.
Official Touch Screen

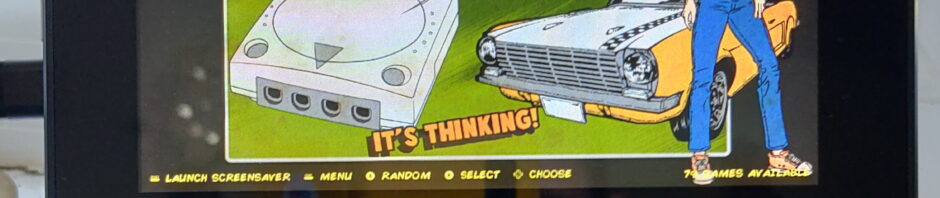
Well there’s not much point in having a touchscreen case without the touchscreen to go with it is there? the 7inch rocks a 800 x 480 resolution, so it perfect for everything up to the Dreamcast. The touchscreen isn’t implemented in Retropie but it does work in Raspberian OS, which it’s possible to drop into (more of that later).
Fan Shim
You can run your Retropie set up without additional cooling but to get the best out of the more modern emulators, such as the Dreamcast and PSP, you’re advised to overclock your Pi4. Without active cooling the Pi4 will hit some pretty spectacular temperatures- mine hit 84 degrees before I purchased a fan shim. Some assembly is required and I have to admit I was skeptical about how effective it would be. However some testing showed that an intensive session at Soul Calibur that saw 80+ degree temps was capped at the mid 50s once I installed the shim. Why did I go for a shim over a conventional fan? No need to drill the case to mount it, and given there is already a case fan, it was tasked with simply shifting the hot air towards the case fan which expelled it.
Storage
I’ve still got my Retropie install on microSD card rather than switching to USB for a couple of reasons. My SanDisk Extreme Pro 64 GB microSDXC is pretty fast, certainly faster than the Integral Fusion or the SanDisk Ultra Fit USB sticks I tried. The boot time was terrible when I tried the install on either of the two USB sticks I’ve got, so I stuck with microSD.
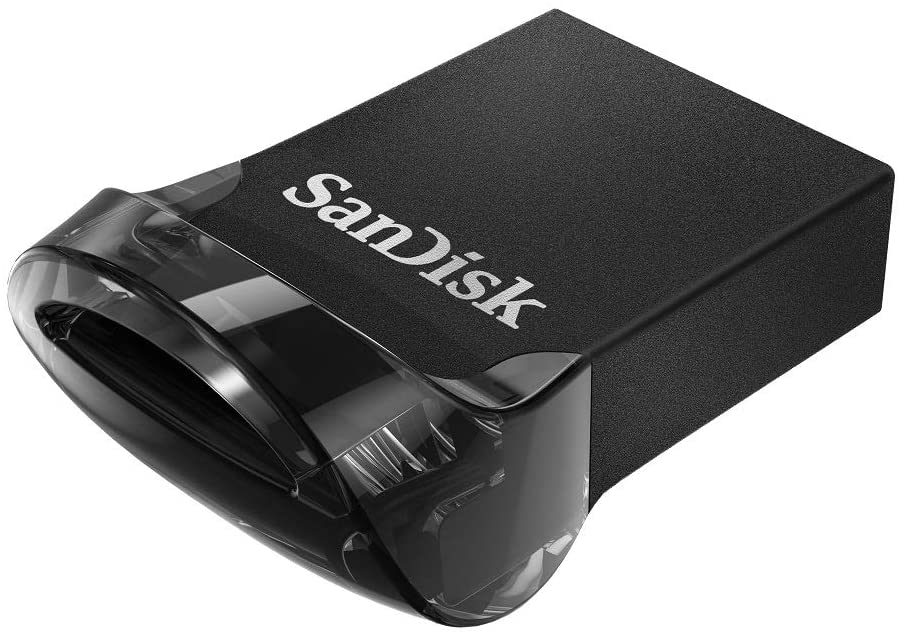
With the OS and Retropie on the internal microSD card (which is a pig to swap out from the case- it require 4 screws, and the HDMI ribbon cable to be removed), all the media is stored on a USB micro stick. A 256GB stick comes in at £27, which isn’t too shabby. The microSD card weighs in at a little under half that. The benefit of this particular USB stick (and the Integral for that matter) is they’re mini sticks, so hardly protrude from the USB port at all, making them harder to knock.
8Bitdo SF/SN 30
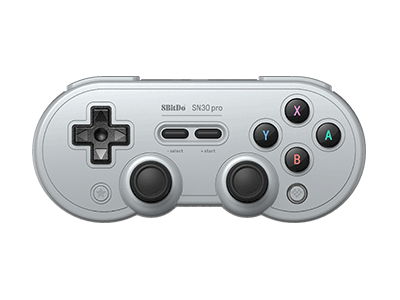
I’ve had my controllers for a while now and it looks like the SF30 has been discontinued in favour of the SN30. Although not cheap, these are great controllers and 8bitdo has a growing reputation for bluetooth controllers- it’s latest has been reviewed positively against the official Switch Pro controller. As an added bonus, this’ll work with a Switch too.
Installation tweaks
Once you’ve got the hardware set up to your satisfaction it’s time to start tweaking the installation to make the most of what Retropie has to offer. Rather than reproduce what already exists out there, I’m going to link to the tweaks I’ve used, which are as follows:
- Install the Pixel desktop environment– it can be handy to drop out of Emulationstation into the full desktop environment on occasion (I tend to do it when I want to FTP ROM files over). After running the install, all you have to do is Start->Quit->Quit Emulationstation and then type startx at the terminal. As an added bonus, I tend to ensure VNC server is configured so once it hits the desktop, I can remotely log in. If you’re not fussed about using the desktop, you can always use PUTTY to log in remotely.
- ROMs stored on USB stick– makes it much easier to add/remove/copy games over
- The Bezel Project– most of the games you’ll play in Retropie are on a 4:3 resolution (and some arcade games are even narrower as they’re vertical shoot em ups!). The Bezel Project puts game specific art in the black borders around the game. This can take a few hundred megabytes, depending on how large your game collection is.
- CRT-Pi shader– Retropie uses shaders to compensate for the difference between CRT monitors running at low resolutions and modern higher resolution LCD panels. This is the best one I’ve tried out.
- Overclock your Pi4– if you want to get the most out of some of the later systems emulated, like the Dreamcast, N64 and PSP, you’ll need to tinker with overclocking but make sure your system is actively cooled!
- All Killer No Filler batch files– these process the mame collection down to something you might actually have the stamina to play through. Each batch file copies a curated themed selection of games to a sub folder, allowing you to pick a good starting point to dipping into arcade games.
- Pixel Runcommand Splashscreens– when you load a game, this gives you custom load screen with artwork from each of the systems. It’s a small thing but really makes a difference!
- Retropie Manager– allows you access to various configs and a system monitor from a browser, handy for monitoring temps on the fly.
- Install a custom theme– my favourite is probably Phil Doodle’s Retrorama theme
- Cheat mode enabled– Retroarch has a lot of built in cheats that need activiating before you can use them.
If you’re stuck for something to play, check out racketboy.com , it’s hands down the best retrogaming site on the web, although the focus is on the games, not emulation.
If there’s anything you think I should add, please take to the comments below!